How Cloth Diapers Work: The Simple Mechanics
You’ve probably stared at a cloth diaper and thought, “Okay, but how do cloth diapers work, really?” It’s a fair question. Between the inserts, the covers, the snaps, and the whole laundry routine, it can feel like a foreign language at first. But once you strip away the jargon, the system is actually dead simple: you’re just putting a very absorbent piece of fabric on your baby and swapping it out when it’s wet.
Think of it like this: a cloth diaper is basically a reusable version of a disposable, just with a washable pad instead of a throwaway one. The magic isn’t in some complicated mechanism; it’s in the layers and your washing machine. In our research, modern cloth systems are designed to hold anywhere from 8 to 12 ounces of liquid, which matches or beats most disposables on the market as of 2026.
Once you understand the two-part anatomy, the entire process clicks into place.
Quick Answer
Cloth diapers work by sandwiching an absorbent fabric layer against your baby’s skin. A waterproof outer layer keeps moisture from leaking onto clothes. You change the diaper when wet, store the soiled one, and wash it.
The absorbent core holds the liquid, and the waterproof cover contains it. That’s the whole system.
The Straight Answer: What Cloth Diapers Actually Are
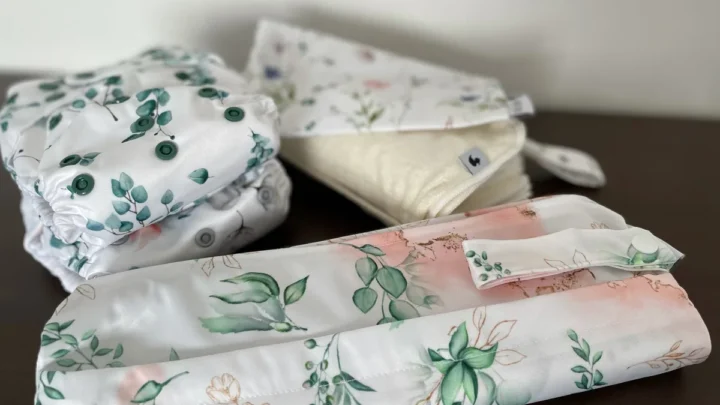
Let’s clear up the biggest misconception first: cloth diapers aren’t one single thing. They’re a system. At their core, every cloth diaper has two jobs.
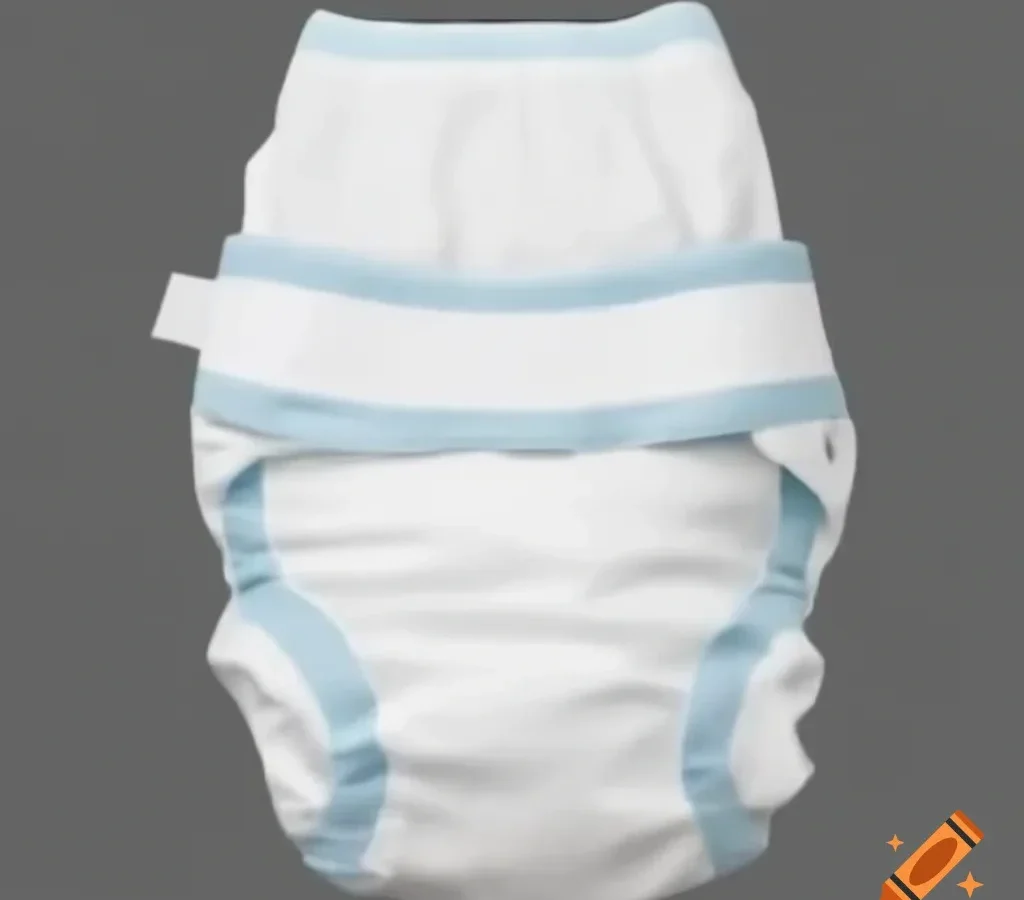
The first layer, called the absorbent core, soaks up liquid and holds it away from the skin. The second layer, the waterproof shell, keeps that liquid from escaping onto your baby’s clothes or your lap.
Modern cloth diapers use materials like cotton, hemp, or bamboo for the absorbent part. These natural fibers are incredibly thirsty. Hemp, for instance, can hold up to three times its weight in liquid.
The waterproof layer is usually made of PUL (polyurethane laminate), a breathable fabric that stops leaks without trapping heat. Wool covers are another option, offering natural temperature regulation and impressive leak protection.
The old image of folding a flat square of fabric and wrestling with pins is outdated. Today’s designs use snaps or Velcro, pre-shaped contours, and adjustable rise settings. One-size diapers can fit a baby from around 8 pounds to 35 pounds, which means you buy a stash once and use it for years.
The system adapts as your child grows, which is a big part of why cloth diapering saves so much money.
The 4 Main Types (And Which One Fits Your Life)
This is where the decision tree really branches. Not all cloth diapers are created equal, and your lifestyle, budget, and patience level will determine which type works best. Let’s break down the four main categories.
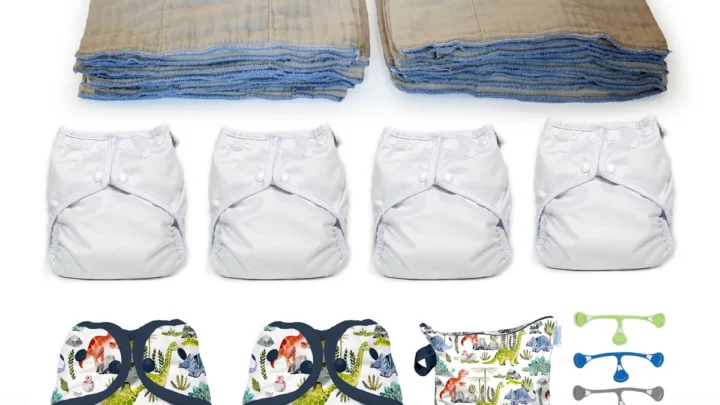
Prefolds + Covers
What they are: Rectangular, highly absorbent layers of cotton or bamboo that you fold around your baby and secure with a Snappi fastener or diaper pins. You then cover them with a waterproof shell, usually PUL or wool.
Best for: Budget-conscious parents, newborns, and anyone who doesn’t mind a small learning curve. They’re also the most durable option.
| Feature | Prefolds + Covers |
|---|---|
| Cost | Lowest upfront ($100–$150 full stash) |
| Drying time | Fastest (thin layers) |
| Learning curve | Moderate (folding required) |
| Ease for caregivers | Low (more steps involved) |
Pocket Diapers
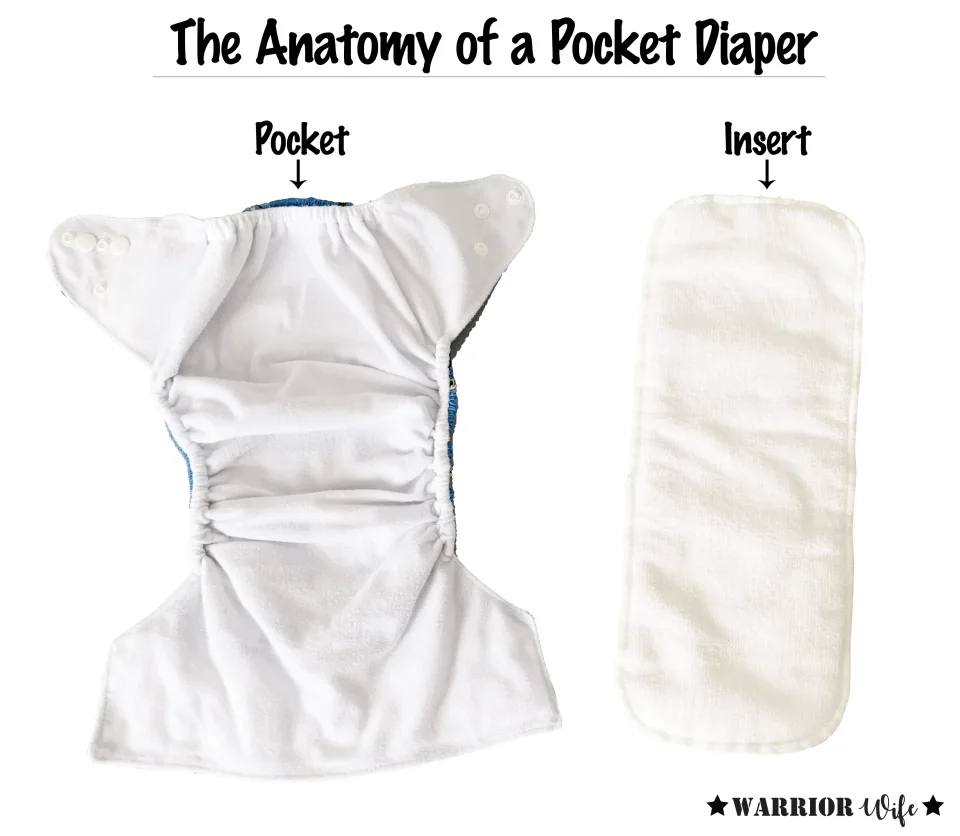
What they are: A waterproof outer shell with a fleece inner lining and an opening at the back. You stuff absorbent inserts into the pocket, which sits between the shell and the baby’s skin.
Best for: Parents who want customization. You control how much absorbency you add, which is great for heavy wetters or overnight use. They dry slower than prefolds because you have to separate the inserts.
| Feature | Pocket Diapers |
|---|---|
| Cost | Moderate ($12–$20 per diaper) |
| Drying time | Medium (must un-stuff) |
| Learning curve | Low |
| Ease for caregivers | Medium (stuffing required) |
All-in-Ones (AIOs)
What they are: The entire diaper is one piece. The absorbent core is sewn directly into the waterproof outer layer. No stuffing, no folding, no assembly.
Best for: Daycares, grandparents, and anyone who wants the simplest possible experience. They function almost exactly like a disposable diaper.
| Feature | All-in-Ones |
|---|---|
| Cost | Highest ($15–$25 per diaper) |
| Drying time | Slowest (thick layers) |
| Learning curve | Lowest |
| Ease for caregivers | Highest |
All-in-Twos (Hybrids)
What they are: A waterproof cover with snap-in absorbent pads. You swap out the pad when wet, but you can reuse the cover multiple times before washing it.
Best for: Parents who want to reduce laundry. You only wash the soiled pads, not the entire diaper. This type also dries faster than an all-in-one.
| Feature | All-in-Twos |
|---|---|
| Cost | Moderate ($12–$18 per diaper) |
| Drying time | Fast (pad snaps off) |
| Learning curve | Low |
| Ease for caregivers | High |
If you’re just starting out, our research suggests a mix. Buy a few pockets for daycare, a few prefolds for home, and try one all-in-one to see if you like the convenience. This way, you test the waters without committing to a full stash of one type you might hate.
How the Wash Routine Actually Works (The Real “Mechanism”)
Here’s the truth: the washing machine is the actual mechanism that makes cloth diapers work. If you don’t wash them properly, no amount of absorbency will save you. The wash routine is non-negotiable, and it follows a specific two-part structure.
The Two-Cycle System
The standard routine requires two separate wash cycles. The first is called the pre-wash. This is a short, cold cycle with a small amount of detergent.
Its job is to rinse away urine and flush out any loose solids before the heavy cleaning begins.
The second cycle is the main wash. This is a long, hot cycle (60°C or 140°F is the recommended temperature for sanitization) with a full dose of detergent. This is where the real cleaning happens.
The hot water breaks down oils and bacteria, while the agitation physically lifts waste from the fabric fibers.
Why Detergent Choice Matters
You can’t just grab any laundry soap. Regular detergents often contain fabric softeners, optical brighteners, or heavy fragrances that coat the fibers and cause repelling. That’s when liquid beads up and rolls off the diaper instead of soaking in.
It’s a classic problem.
Look for a detergent labeled “free and clear” with no enzymes or additives. In our research, powdered detergents tend to outperform liquid ones because they contain more surfactants and fewer fillers. They’re also cheaper per load, which matters when you’re washing every two to three days.
Reading Your Diaper’s Signals
Your diapers will literally tell you when the routine is off.
- Ammonia smell: Burns your nose when you open the pail. This means bacteria is surviving the wash. You need hotter water or a longer main wash cycle.
- Barnyard stink: A musty, earthy smell that hits as soon as the diaper gets wet. This also points to bacterial buildup. A strip and a hotter wash usually fix it.
- Leaks: Could mean a fit issue, but if the diaper is leaking after a mere two hours, it usually indicates detergent buildup rusting the absorbency.
- Repelling: Water beads up instead of soaking in. This is almost always residue from softeners or too much detergent.
Stripping: When It’s Needed
Stripping is a deep-clean process that removes mineral and detergent buildup. You typically need to do it every 3 to 6 months, or whenever you see repelling or smell that ammonia. The process involves washing the diapers with no detergent and extra rinses, sometimes with a water softener added.
If you have hard water, this will be a more frequent chore. Check out our guide on dealing with hard water when stripping for the full process.
Step-by-Step: From Dirty Diaper to Ready-to-Wear
Now that the laundry concept makes sense, let’s walk through the actual day-to-day flow. It’s a straightforward loop, and once you’ve done it a few times, it becomes second nature.
Step 1: The Dirty Pail
When you change a diaper, you remove the insert (if it’s a pocket) and toss everything into a wet bag or a pail with a liner. These are waterproof bags that contain the smell and moisture. You do not soak diapers in water unless you’re dealing with formula-fed poops that won’t come off easily.
A dry pail is the modern standard.
Step 2: Handling Solids
Before your baby starts eating solids, their poop is water-soluble. It rinses straight out in the washing machine. No scraping needed.
After solids, you need to remove the bulk before washing.
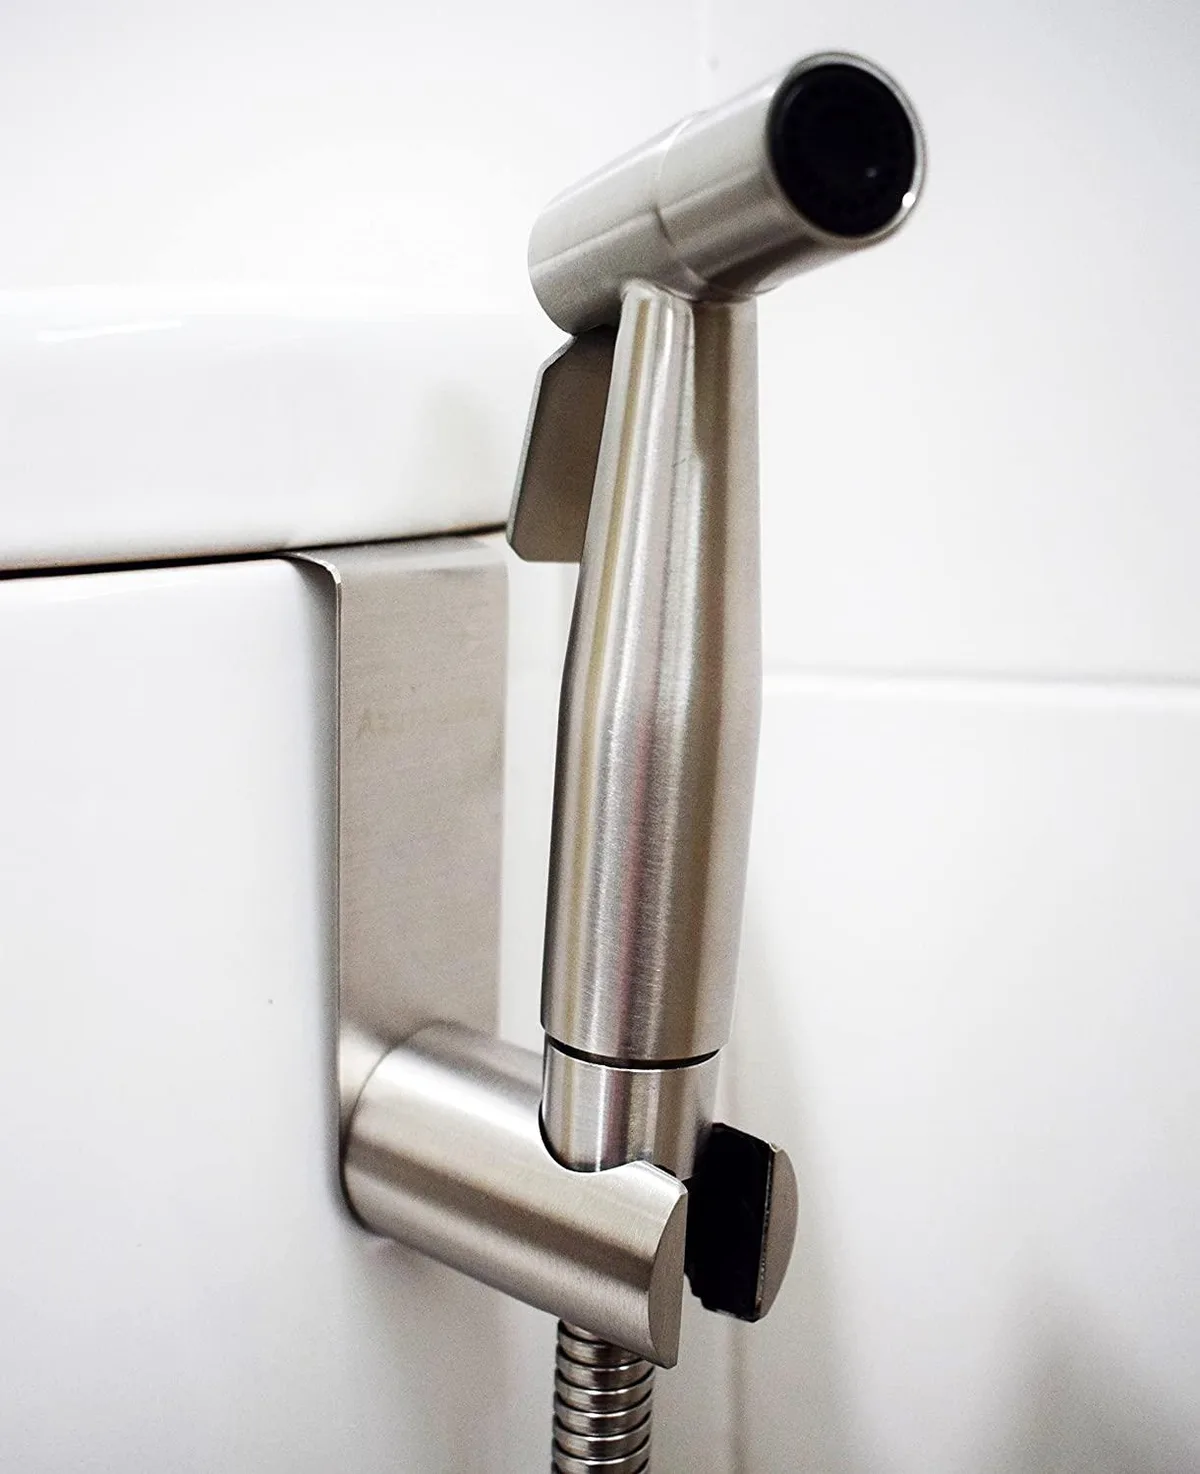
- Option A: Diaper sprayer. This is a handheld sprayer that attaches to your toilet’s water supply. You spray the poop into the toilet bowl, then wring out the diaper.
- Option B: Disposable liners. These are thin, flushable sheets you lay on top of the diaper. When your baby poops, you lift the liner, and the poop goes into the toilet. The liner is flushable.
- Option C: The dunk and swish. You manually swish the diaper in the toilet water to loosen the solids. It’s messy, but it works in a pinch.
Step 3: The Pre-Wash
Load the soiled diapers into your washer. Run a short cold cycle with a tiny dab of detergent. This cycle should be aggressive enough to agitate the diapers, so don’t overload the drum.
You want the diapers to be bouncing around freely.
Step 4: The Main Wash
After the pre-wash finishes, add the rest of your diaper stash (or just keep the same load if that’s all you have). Add your full dose of detergent. Run a long, hot cycle with an extra rinse at the end.
The extra rinse ensures all soap residue is gone.
Step 5: Drying
Here’s where your dryer settings matter.
- Inserts and prefolds: These can go in the dryer on medium heat.
- PUL covers and pockets: These must be hung to dry. High heat breaks down the waterproof laminate over time. Line drying is safest.
- Wool covers: Always air dry flat. Never put wool in the machine.
After drying, check your inserts for any lingering smell. If they smell clean, they’re ready to be re-stuffed into your pockets and folded into the drawer.

Similar Posts