Upcycled Clothing Ideas to Refresh Your Wardrobe

We’ve all got that one shirt with a stain that won’t budge, or jeans with a hole in exactly the wrong spot. You hang onto them because tossing them feels wasteful, but they’re just taking up space. That’s where upcycled clothing ideas come in: transforming pieces you already own into something you’ll actually wear again.
With basic tools and a little patience, you can rescue your “almost trash” and turn it into a favorite.
The process isn’t about being a master seamstress. Most projects take under an hour and need nothing more than sharp scissors and maybe a needle. As of 2026, textile waste remains a massive environmental issue, with the EPA estimating millions of tons hitting landfills annually.
The fix starts at home, one garment at a time. Let’s walk through what actually works and what’s worth your effort.
Quick Answer
The best upcycled clothing ideas are no-sew crop tops, t-shirt tote bags, distressed denim, sweater vests, and patch repairs. Each takes under an hour. You only need scissors, thread, and fabric chalk.
Start with cotton and denim, which cut cleanly and fray predictably. Avoid polyester, which melts and looks messy at the edges.
Why Upcycling Beats Buying New (And When It Doesn’t)
Upcycling isn’t just a trend; it’s a practical response to a real problem. The fashion industry produces staggering waste, and most of it comes from cheap, disposable garments. When you repurpose what you already own, you skip the entire production chain: no new resources, no shipping, no packaging.
Your environmental footprint drops instantly, and your wallet stays intact.
But here’s the honest part: not every garment is worth saving. If a piece is heavily pilled, stained in multiple spots, or has completely lost its shape, you’re fighting a losing battle. The fabric’s integrity matters more than your enthusiasm.
A stretched-out, threadbare tee won’t hold a clean edge, and it won’t last through more than a few washes regardless of what you do to it.
The sweet spot is garments that are structurally sound but stylistically stale. That oversized button-down you never wear? Perfect candidate.
The jeans with a small hole in the knee? Absolutely. The sweater that shrunk in the wash?
Ideal. These pieces have good fabric and good bones; they just need a new direction.
In our research, the projects that deliver the most satisfaction are the ones with visible, immediate results. You cut, you sew, you hold up a finished garment in under an hour. That feedback loop is what keeps people coming back to upcycling rather than quitting after one frustrating attempt.
The Best No-Sew Projects for Absolute Beginners
If you’ve never touched a sewing machine, don’t let that stop you. Some of the most impressive upcycled clothing ideas require zero stitching. You just need sharp fabric scissors, a ruler, and the willingness to cut into something you already own.
The five-minute crop top is where most people start. Put on an old t-shirt or button-down. Mark where you want the hem to hit with fabric chalk.
Take it off, cut straight across, and you’re done. For a softer, more lived-in edge, gently pull the cut fabric horizontally; the threads will curl slightly, creating a finished look without any sewing. This works beautifully on boxy tees that never seemed to fit right.
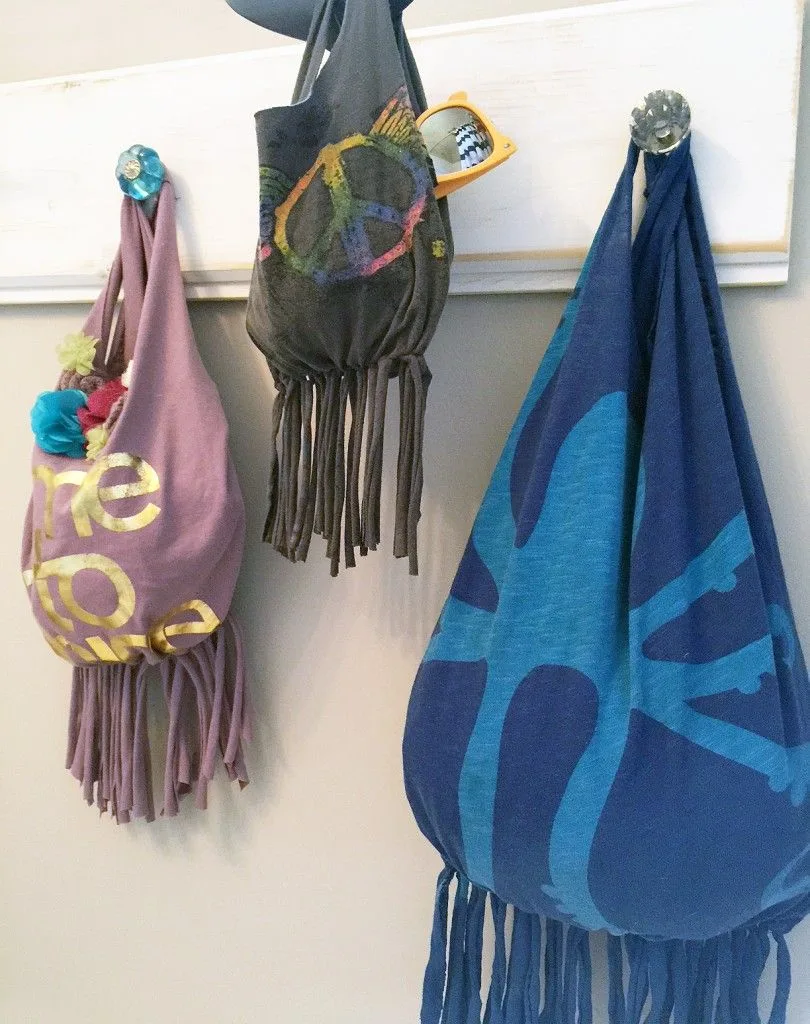
The t-shirt tote bag is another classic that genuinely works. Lay your tee flat, cut off both sleeves, and scoop out the neckline deeply. Turn it inside out and tie the bottom hem in tight knots, spacing them about an inch apart.
Flip it right side out, and you’ve got a surprisingly sturdy bag for groceries or beach days. The knots hold up surprisingly well in the wash, though you’ll want to hand-wash it to be safe.
Sweater sleeves become scarves and arm warmers with almost no effort. If you have a wool sweater that’s shrunk, cut off the sleeves at the shoulder seam. The knit fabric naturally rolls at the cut edge, creating a finished look.
Wear them as leg warmers, arm warmers, or stack two together for an infinity scarf. It’s the kind of project that takes five minutes and looks surprisingly intentional.
The key with any no-sew project is choosing the right fabric. Cotton jersey, linen, and lightweight wool all cut cleanly and hold their edges reasonably well. Avoid anything with high spandex content; it will curl and distort immediately.
And always use fabric scissors, not kitchen shears. Dull blades crush the fibers and result in jagged, uneven cuts that fray excessively.
Denim Transformations: Cutoffs, Distressing, and Repairs
Denim is the most forgiving fabric you’ll ever upcycle. It’s sturdy, cuts cleanly, and has natural wear patterns that make distressing look authentic. The trick is working with what’s already there rather than fighting against it.
The cutoff shorts formula starts with a pair of jeans you’re ready to retire. Put them on and mark where you want the inseam to hit; remember that denim rides up slightly when you sit, so cut a bit longer than you think. Take them off, lay them flat, and cut straight across both legs.
For a frayed hem, pull the white horizontal threads with tweezers after cutting. This takes patience but creates that expensive, lived-in look.
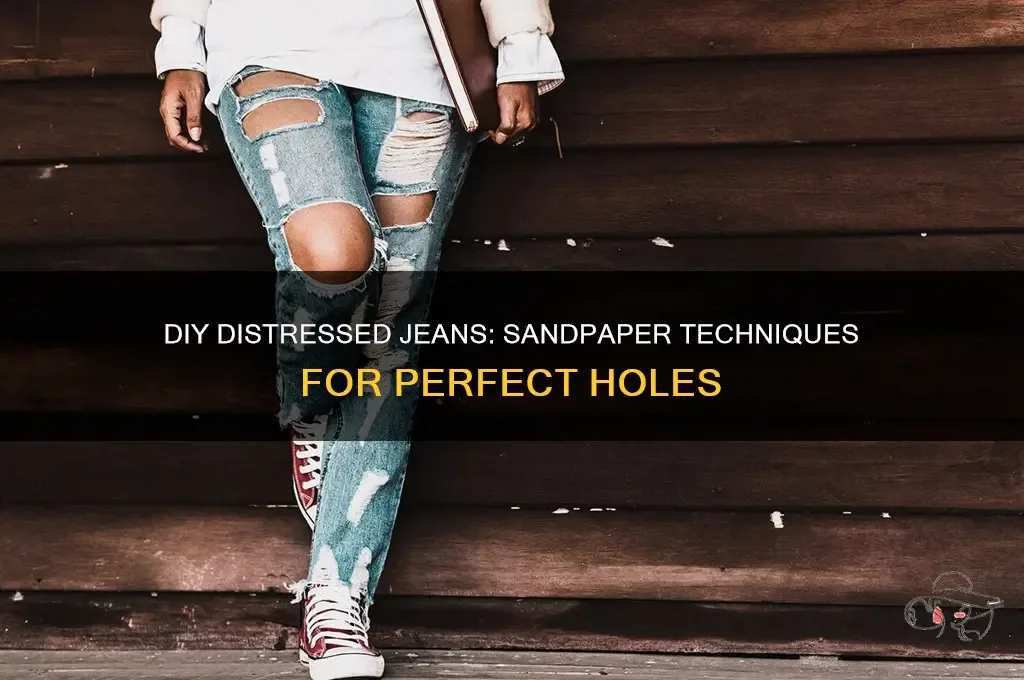
Distressing that looks intentional requires reading the fabric’s natural stress points. Look for the fading lines across your thighs or behind the knees; those are where the fabric has already weakened. Use a razor blade to make small horizontal cuts at those exact spots, not randomly across the leg.
The cuts will naturally fray and expand as you wear and wash the jeans, creating rips that look like they happened organically rather than being manufactured.
For a more controlled rip, use tweezers to pull out the blue vertical threads after making your cuts, leaving only the white horizontal ones. This creates that lattice-style hole you see on designer distressed denim. It takes about fifteen minutes per knee, but the result is worth the effort.
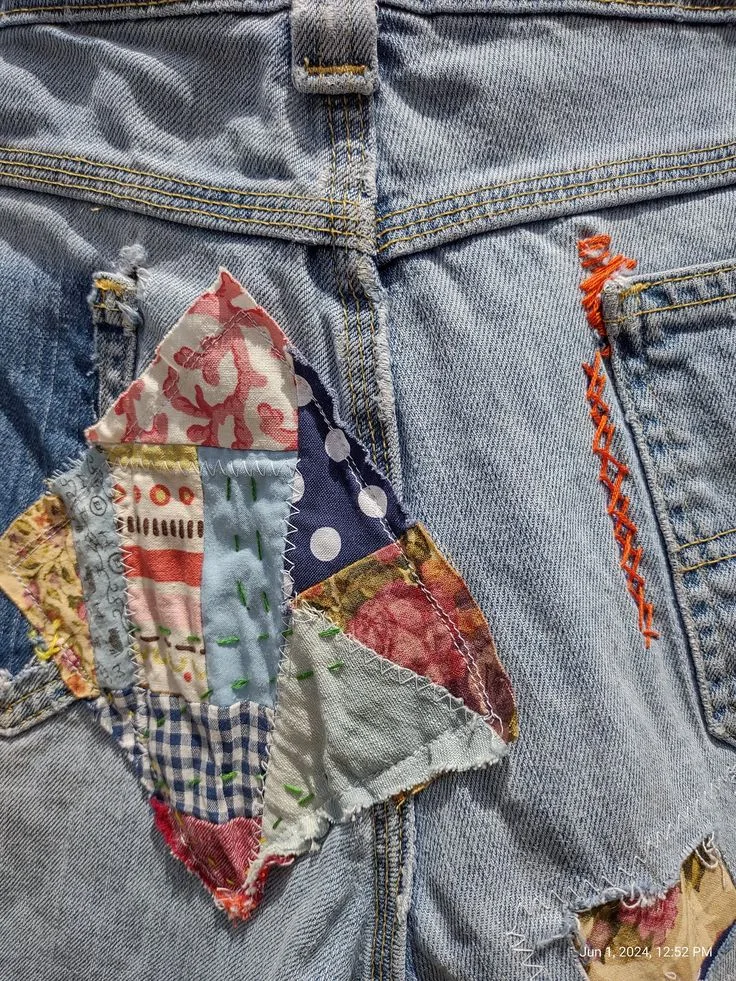
Patchwork knee repairs are where function meets fashion. Instead of throwing out jeans with blown-out knees, cut a patch from another pair of jeans or a contrasting fabric. Place it behind the hole, pin it in place, and hand-stitch around the edges with a whip stitch.
The repair becomes a design feature, and the jeans gain a second life with a story attached.
One honest piece of advice: cut less than you think you need. You can always remove more fabric, but you can’t add it back. Mark your line, step back, look at the proportion, and then cut.
This applies to every denim project, from cutoffs to distressed rips.
Relocation Projects: Making Old Pieces Look Expensive
The most impressive upcycled clothing ideas involve moving parts around rather than just removing them. These projects create pieces that look intentionally designed, not merely altered. They’re slightly more advanced, but they’re also the most rewarding.
The placket clash trick transforms a plain t-shirt into something editorial. Take a shirt with a beautiful collar and button placket but a ruined body, and cut the placket off entirely. Sew it onto the front of a plain, boxy t-shirt.
The contrast between crisp shirting fabric and soft jersey is genuinely striking. It’s the kind of piece that looks like it came from a high-end designer, but it cost you nothing beyond an afternoon.
Sleeve swapping works similarly. Got a tank top that’s too plain and a long-sleeved shirt with damage in the body? Cut the sleeves off their original garment, leaving about an inch of fabric around the shoulder seam.
Pin them into the tank top’s armholes and hand-stitch them in place. This works best with lightweight fabrics like silk or viscose, which drape nicely without adding bulk at the shoulder.
Pocket surgery is the lowest-effort, highest-impact trick in the upcycling playbook. Those cargo pockets on old trousers or jackets? Cut them off with a little extra fabric around the edges, then hand-stitch them onto a plain denim jacket, a canvas tote, or even the chest of a hoodie.
The pockets change the entire personality of a piece. Function meets fashion, and you’ve created something nobody else has.
The guiding principle across all relocation projects is respecting the original garment’s structure. Working with existing seams and hems rather than cutting through them means your new piece will hold together better and look more polished. Take your time, pin everything before you sew, and remember that a slightly imperfect stitch is still a repair that works.

Similar Posts