Build a DIY Compost Bin: Easy Step-by-Step Guide
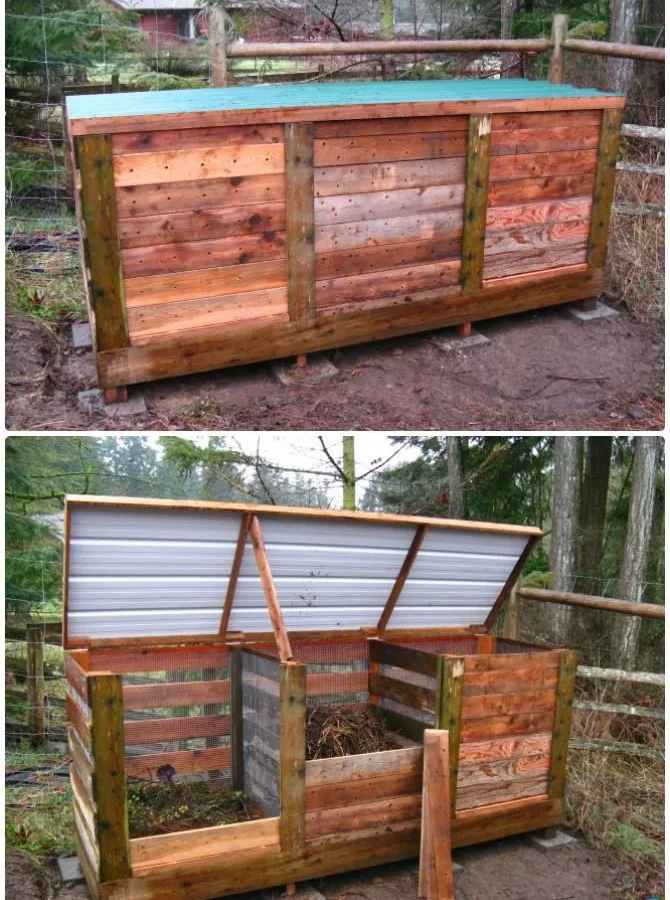
You’ve probably looked at a compost bin online, seen the $150 price tag, and thought, “I could build that myself.” You’re right. You absolutely can. A diy compost bin isn’t just a way to save money; it’s often a better system than anything you’d buy, because you build it to fit your exact space and your specific volume of kitchen scraps and yard waste.
Before you grab a hammer, here’s the reality check: there’s no single “best” DIY design. According to the U.S. Environmental Protection Agency’s composting guidelines, the ideal active pile needs to be at least three cubic feet to generate enough heat to break down properly.
That’s roughly 3 feet wide, 3 feet deep, and 3 feet tall. As of 2026, the most successful home composters aren’t using fancy gadgets; they’re using simple structures that maintain that critical volume. So, the first step isn’t picking up materials, it’s figuring out which of the five main designs fits your yard, your habits, and your physical limits.
Let’s find yours.
Quick Answer
The best DIY compost bin depends on your space and volume. For most homeowners, a three-bin pallet system offers the most capacity and efficiency. Apartment dwellers should use a sealed plastic tote with drilled aeration holes.
If you want fast, low-effort compost, build a tumbler-style bin from a recycled barrel. For the easiest start, a wire mesh cylinder costs under $15 and works great. Match the design to your waste output, not just your budget.
Which DIY Compost Bin Is Right for You? Start Here
Before you cut a single board, answer three questions honestly. These answers will narrow your options faster than any guide can.
How much waste do you actually produce? If you’re feeding a family of four and have a half-acre lot with falling leaves, you need a system that handles volume. If you live alone and mainly compost coffee grounds and veggie peels, a small tote is plenty. The mistake most beginners make is building a bin that’s either way too big or way too small.
Where will it live? Your bin needs to be accessible year-round. If you’re hauling scraps across a muddy yard in January, you’ll quit by February. Look for a spot with good drainage, partial sun, and room to stand and turn the pile.
If you’re in an urban area with close neighbors, you need an enclosed design that keeps odors in and pests out.
What’s your physical comfort level? Turning a compost pile with a pitchfork is real work. If you have back issues or simply don’t want the workout, a tumbler that you crank from standing height is a game-changer. If you’re fine with shoveling, a ground-level bin gives you more capacity for less money.
Here’s the logic tree: high volume plus willing to work equals a three-bin pallet system. Low volume plus apartment living equals a plastic tote. High volume plus bad back equals a barrel tumbler.
Low volume plus large yard equals a wire mesh cylinder. If you fall somewhere in between, the trash can composter covers most bases.
The 5 Main DIY Compost Bin Builds: How They Work and What They Cost
Let’s walk through each design, what it’s good at, and what it’ll cost you in materials and effort.
The Wire Mesh Cylinder (The $10 Classic)
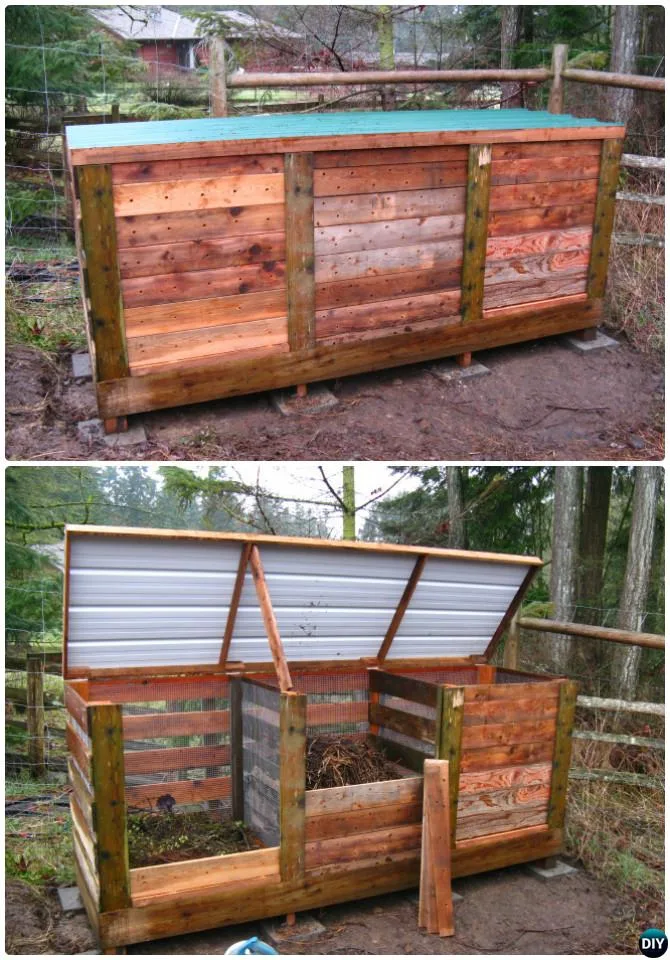
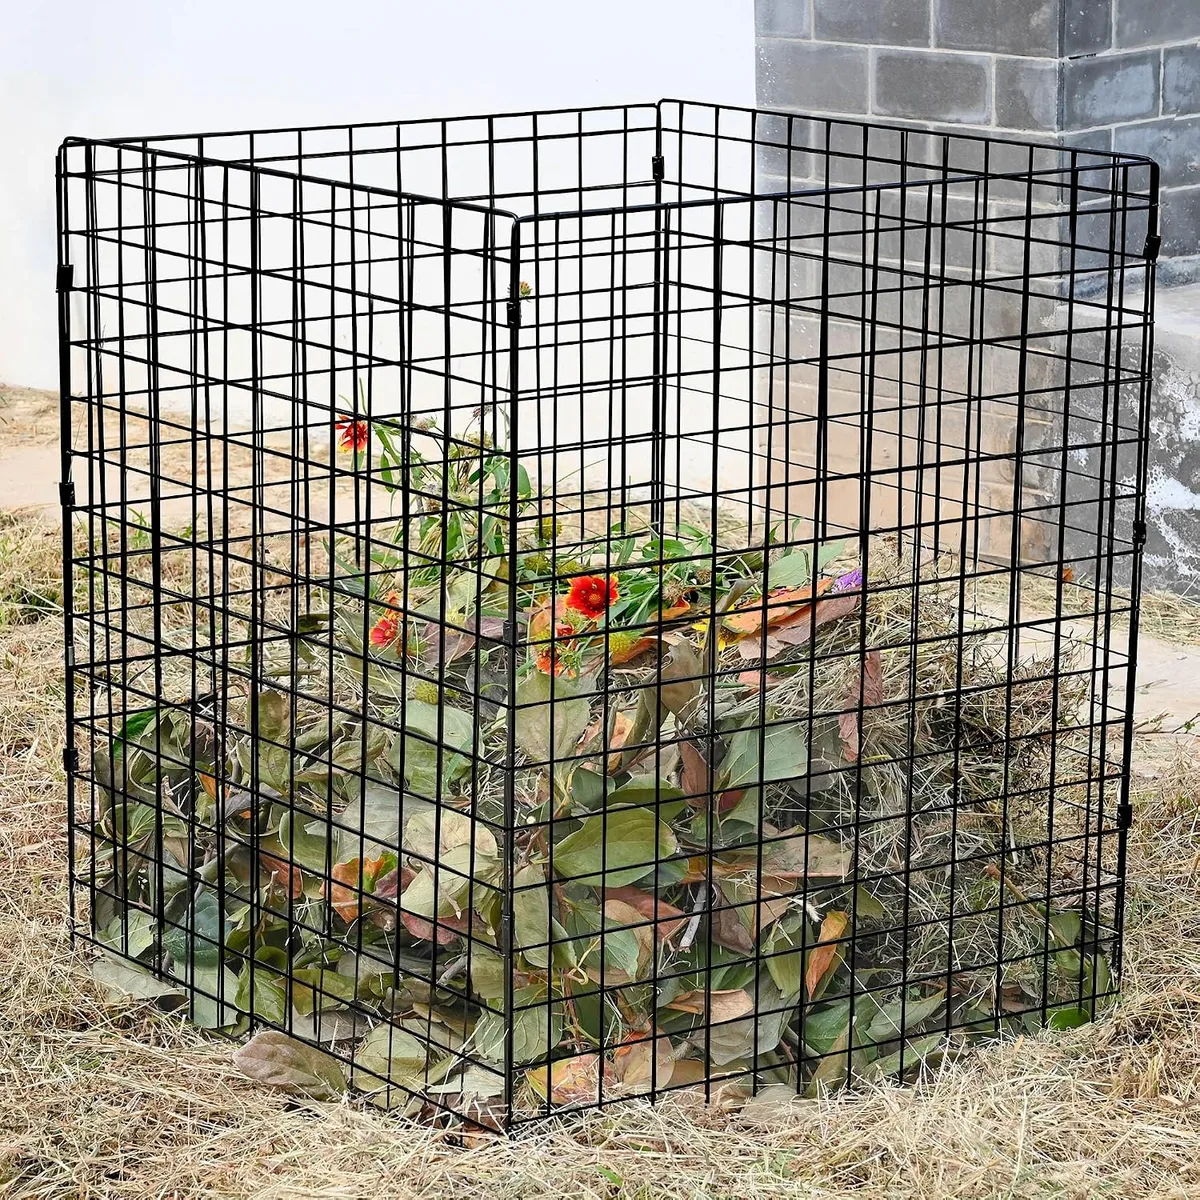
This is the simplest build in existence. You buy a roll of 4-foot tall wire mesh (hardware cloth or chicken wire), form it into a circle, and secure the ends with zip ties or wire twists. Some people use a couple of wooden stakes hammered into the ground to hold it in place.
The good news: it’s cheap, takes 15 minutes to assemble, and has incredible airflow. The open sides promote aerobic decomposition, which means it breaks down faster and smells less. The bad news: it’s completely open to rodents, and the pile tends to dry out at the edges in hot weather.
This is the perfect starter bin for someone with a yard who wants to process leaves, grass clippings, and garden trimmings. You can build two or three of them for under $30 and rotate between them.
The Pallet Three-Bin System (The Heavy Lifter)
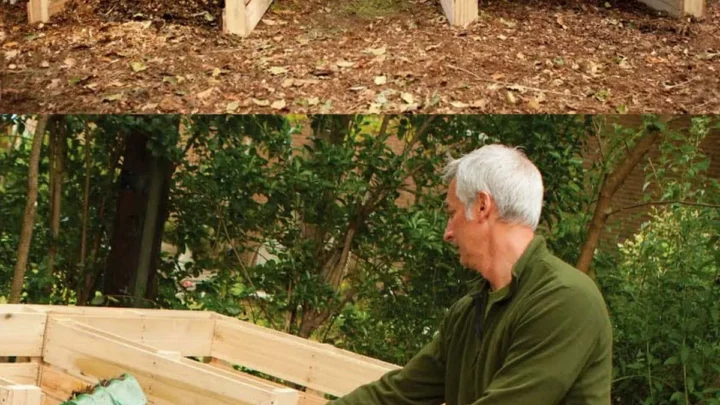
If you have the space and the volume, this is the gold standard. You stand three wooden pallets on their edges to form a U-shape, and stack a fourth pallet across the front as a removable door. You can build one, two, or three adjoining bays.
Most people build three so they can have one bay actively composting, one curing, and one collecting new material.
This system shines because it encourages active management. You turn the pile from bay one into bay two after a few weeks, which aerates it and speeds up decomposition. Pallet bins hold a massive amount of material, and the slats allow excellent airflow.
The downside is size and effort. It’s not pretty, and it takes up a serious footprint in your yard. You’ll also need to source pallets, which takes a bit of hunting.
Look for heat-treated pallets stamped with “HT,” never ones that have been treated with methyl bromide.
The Plastic Tote Bin (The Apartment Solution)
For balcony composters, this is the answer. You take a 20 to 32-gallon plastic storage tote with a locking lid, drill a grid of holes across the bottom and sides for airflow, and you’re done. Some designs also recommend raising the bin on bricks and adding a tray underneath to catch any liquid runoff.
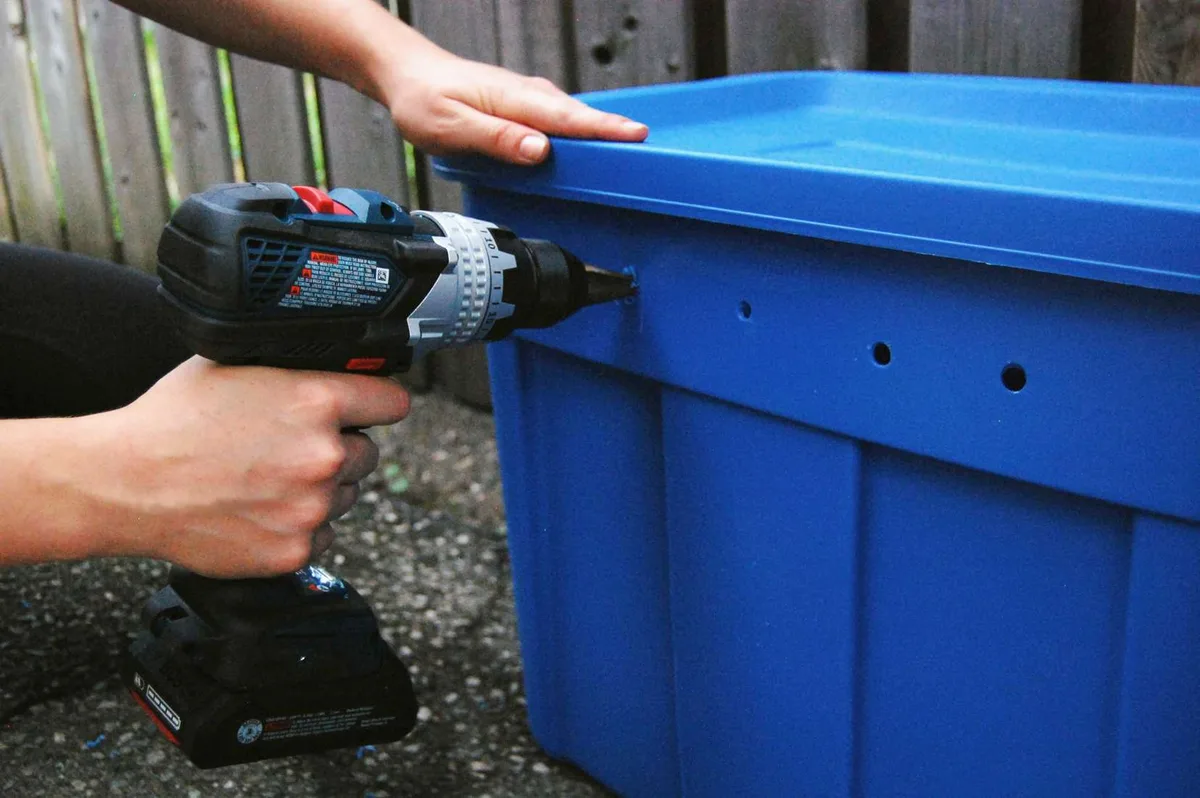
This bin keeps everything sealed and secure, which is critical if you’re on a shared balcony. It has zero pest risk, and the plastic retains moisture well, which is useful in dry climates. It also only costs about $15.
The trade-off is volume. A 32-gallon tote is small, and it will fill up fast if you’re generating serious kitchen waste. You can tip it on its side and roll it to turn the contents, but that’s a messy, awkward operation.
This works best for one or two people who mainly compost fruit and vegetable scraps.
The Trash Can Composter (The Middle Ground)
This is the classic DIY design for good reason. You take a standard 32-gallon galvanized steel or plastic trash can, drill holes around the sides and bottom, and you’re set. Some people stop there and use it as a stationary bin.
Others go further and mount it horizontally on a PVC frame so it can rotate and tumble.
The stationary version is great for holding a decent volume of material while keeping pests out. The tumbler version is fantastic because it makes turning effortless. Lay the can on its side, spin it a few times each week, and you’ve got well-aerated compost without the back strain.
The cost depends on whether you have a trash can lying around. If you’re buying new, expect to pay $30 to $50 for a good metal can. The main limitation is that a single can doesn’t give you the room to separate active compost from finished compost.
You’ll need to empty it completely to harvest.
The Tumbler Clone (The Speed Option)
If you’ve priced commercial compost tumblers and balked, you can build a passable version for less. The standard design uses a 55-gallon plastic drum mounted on a wooden or steel stand. You cut a door in the side, install hinges and a latch, and drill holes along the drum for aeration.
The big advantage is speed. Because you can turn it daily with minimal effort, the material stays well-aerated and can break down in as little as three to four weeks in warm weather. That’s dramatically faster than a passive pile.
The downside is the build complexity. Mounting a drum on a rotating axle is more advanced woodworking, and you need to make sure the door seal is tight, or you’ll attract wasps and flies. This is a weekend project rather than an afternoon project.
Matching the Bin to Your Yard, Habits, and Physical Limits
Now let’s get specific. Here’s how the decision tree plays out in real situations.
You live in a suburban house with a standard backyard. Your best bet is the pallet three-bin system if you have the space, or a single large trash can composter if you don’t. Suburban yards usually generate a mix of grass clippings, leaves, and kitchen scraps, and you need a bin that can handle all three in volume.
You’re in a condo or apartment with a balcony. The plastic tote is your only realistic option. It’s sealed, pest-proof, and doesn’t require any tools to assemble. You’ll be limited in volume, but you’ll still produce several gallons of usable compost per season for houseplants and container gardens.
You have chronic back pain or mobility issues. Skip ground-level bins entirely. Go for a tumbler clone or a trash can mounted on a stand. The ability to turn compost while standing upright is the difference between maintaining a healthy pile and abandoning it within a month.
You have a large property with heavy seasonal leaf drop. Build a wire mesh cylinder or two in addition to a main bin. Leaves take a long time to break down, and they need a designated holding area where they can sit and rot slowly without clogging up your active pile. A dedicated leaf bin is a workhorse.
You live in a cold northern climate. Choose a bin with solid walls, like a trash can or pallet bin with enclosed sides. The center of a large pile will stay warm through winter, but a wire mesh cylinder will freeze completely solid. You also want a lid to keep snow from saturating the pile.
You live in a hot, dry climate. Moisture loss is your enemy. A sealed trash can or tote retains humidity far better than an open wire cylinder. You’ll also want a spot in partial shade to keep the pile from baking.
The Composting Basics You Need to Know Before You Build
Building the bin is the easy part. Understanding what goes inside is where most people fail. Composting is not a garbage can in your yard; it’s a biological process with specific requirements.
Get these wrong, and you’ll have a slimy, smelly mess instead of rich garden gold.
Greens vs. Browns: The Ratio That Makes or Breaks Your Pile
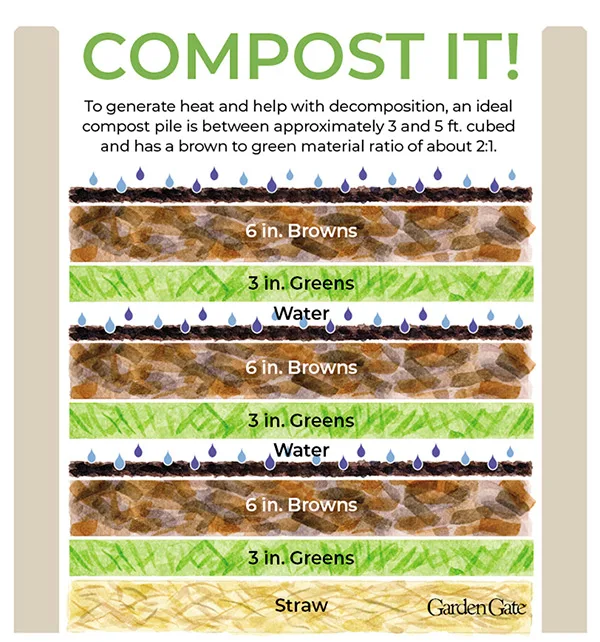
Every compost pile needs two types of material. Greens are nitrogen-rich: food scraps, grass clippings, coffee grounds, and fresh plant trimmings. Browns are carbon-rich: dead leaves, straw, cardboard, shredded paper, and wood chips.
The ideal ratio by volume is roughly 2 to 3 parts browns for every 1 part greens. This gives the microbes a balanced diet. Too many greens and the pile turns into a wet, stinking swamp.
Too many browns and it just sits there, dry and static, for a year.
A good habit is to always have a stash of browns next to your bin. When you add a bucket of kitchen greens, immediately cover it with an equal or larger volume of leaves or shredded cardboard. This simple layering prevents odors, keeps flies away, and maintains the right carbon-to-nitrogen balance.
Air and Water: The Two Things That Kill or Cure Your Compost
Composting is an aerobic process. The microbes that break down your waste need oxygen to survive. Without it, anaerobic bacteria take over, and they produce the rotten egg smell that gives composting a bad name.
That’s why all DIY bins have air holes, and why you need to turn the pile periodically. Turning is not optional. For a hot, active pile, you should turn it every 2 to 3 weeks.
This fluffs the material, reintroduces oxygen, and redistributes moisture and microbes. A pile that sits untouched for six months will eventually compost, but it’ll take three times as long.
Moisture is the second variable. Your pile should feel like a wrung-out sponge. Squeeze a handful; if a few drops come out, you’re perfect.
If water runs out, it’s too wet. Add dry browns. If it crumbles and won’t hold its shape, it’s too dry.
Add water or more greens.
The heat is a sign you’re doing it right. A healthy, active pile will reach 130°F to 150°F in the center. This heat kills most weed seeds and harmful pathogens.
If your pile is cold, it’s either too dry, too wet, or starving for nitrogen. University extension services, like the one at Oregon State University, publish excellent regional guides on managing this balance effectively.

Similar Posts