DIY Exfoliating Lip Scrub: Easy Recipes for Soft Lips
Your lips are probably the last thing you think about when it comes to skincare, yet they’re the first place you notice dryness, flaking, or irritation. A DIY exfoliating lip scrub sounds like the perfect fix, but most homemade recipes floating around online can actually make things worse. The truth is, your lips don’t have the same protective barrier as the rest of your skin, so they need a completely different approach than your face or body.
Research from dermatology journals shows that the lip area has a much thinner stratum corneum than other skin, making it highly vulnerable to over-exfoliation, allergic reactions, and even infection. In fact, a 2020 study published in the Journal of the American Academy of Dermatology found that repeated physical exfoliation on the lips can strip the lipid barrier faster than it can regenerate, leading to chronic dryness and irritation. So before you mix sugar and honey together, let’s walk through what actually works, what doesn’t, and how to build a scrub that respects your lips’ unique biology.
Why Most DIY Lip Scrubs Do More Harm Than Good
Here’s the uncomfortable truth: most DIY lip scrub recipes you’ll find online are designed for engagement, not for your skin’s health. They call for coarse salt, lemon juice, peppermint essential oil, and other aggressive ingredients that feel refreshing in the moment but cause microscopic tears in your lip tissue.
The problem starts with particle size. Coarse sugar crystals and salt granules are far too abrasive for the delicate lip surface. When you scrub them across your lips, you’re essentially sanding off the top layer of skin, including the healthy cells that protect against moisture loss.
That’s why your lips often feel great immediately after scrubbing, then end up drier and more chapped within a few hours.
Another major issue is the carrier oils used in typical recipes. Many people reach for whatever cooking oil is in their pantry, not realizing that some oils can clog pores around the lip line or cause contact dermatitis. Citrus oils and essential oils like peppermint and cinnamon are common culprits for allergic reactions, especially when applied to already compromised skin.
There’s also the hygiene angle that nobody talks about. Water-based ingredients like honey or mashed fruit create a breeding ground for bacteria and mold, especially when stored in a jar without preservatives. As of 2026, dermatologists continue to recommend keeping homemade cosmetics in the refrigerator and using them within a few days, which contradicts the “keep it on your bathroom counter for months” approach most DIY blogs suggest.
The Anatomy of Your Lips: Why They Need Different Care
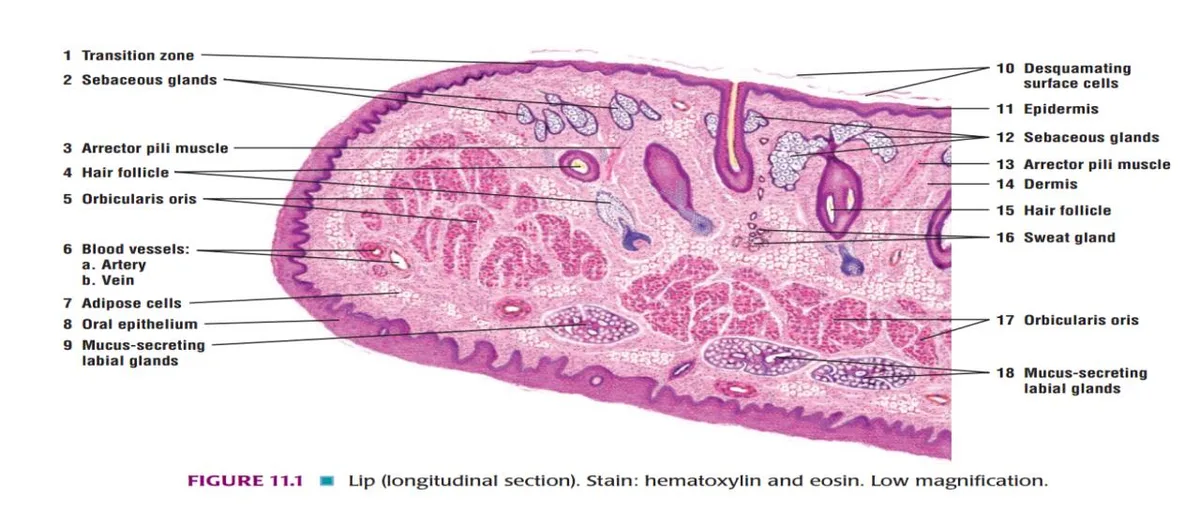
To understand why lip scrubs fail, you need to understand what you’re working with. Your lips lack the stratum corneum’s full barrier function. That’s the outermost layer of skin that protects against water loss, environmental damage, and pathogens.
On your face, this layer is about 15 to 20 cells thick. On your lips, it’s roughly 3 to 5 cells thick. That massive difference changes everything about how you should treat them.
Your lips also don’t have sebaceous glands. Unlike the rest of your face, which produces natural oils to keep skin lubricated, your lips rely entirely on external moisture and the limited lipid film that exists between skin cells. When you scrub away that film, you remove the only protective coating your lips have, leaving raw tissue exposed to air, cold, and bacteria.
The lack of melanin in lip tissue is another critical factor. Melanin provides natural UV protection, but your lips produce very little of it. That’s why sunburned lips are so common in winter and summer alike.
After you exfoliate, the freshly exposed skin is even more vulnerable to UV damage, which means skipping SPF after exfoliating is a recipe for long-term harm.
So what does this mean for your scrub? It means the standard “sugar and oil equals smooth lips” formula is fundamentally flawed. Your lips don’t need aggressive exfoliation.
They need a gentle sloughing of dead cells paired with immediate barrier repair. If you’re scrubbing until your lips feel raw or sting, you’ve already gone too far. The goal is simply to smooth the surface, not to strip it down.
The Core Facts: What Actually Works (and What Doesn’t)
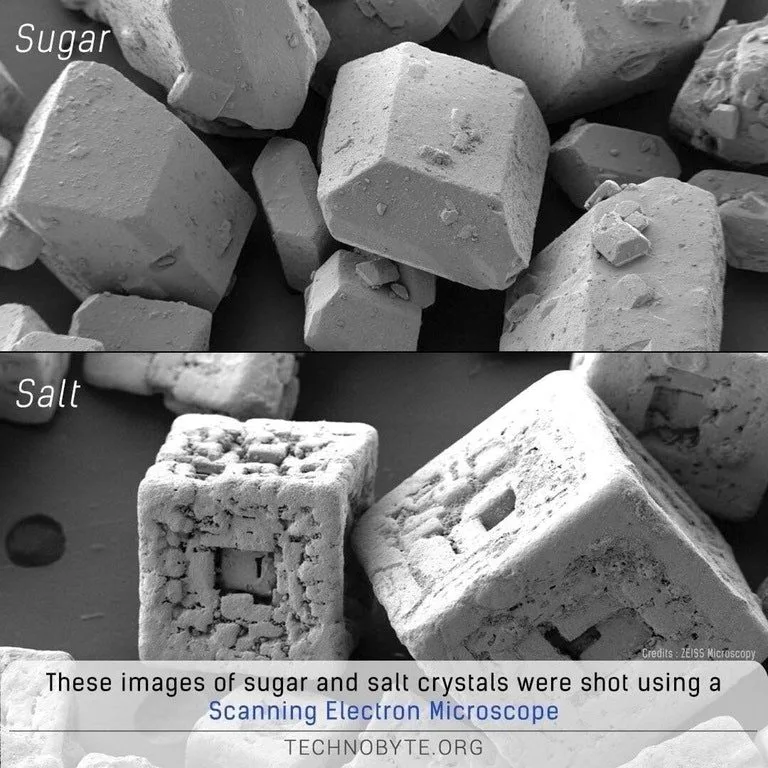
Let’s break down the ingredients that genuinely work versus the ones that don’t, based on dermatological research and ingredient chemistry. Not all sugar is created equal, and the choice between brown, white, or powdered sugar matters more than you’d think.
What works:
- Fine white sugar or confectioner’s sugar. These dissolve quickly in the mouth, meaning they break down before they can cause micro-tears. Granulated white sugar sits in the middle, while turbinado or demerara sugar is too coarse and should be avoided.
- Carrier oils with a low comedogenic rating. Jojoba oil, fractionated coconut oil, and squalane are closest to your skin’s natural sebum. They absorb well without leaving a greasy film. Sweet almond oil and sunflower oil are also safe options for most people.
- Occlusives like shea butter or beeswax. These create a protective layer that locks in moisture after exfoliation. Including one in your scrub means you don’t have to apply a separate balm immediately afterward, though doing so helps regardless.
- Honey, but only as a binding agent. Raw honey has antibacterial properties, but it also introduces water into the mix. Use it sparingly and store your scrub in the fridge. If you don’t want to deal with refrigeration, skip honey entirely.
What doesn’t work:
- Salt. It’s too abrasive, regardless of grain size. Sea salt and Himalayan salt are worse than table salt. None of them dissolve quickly enough to avoid scratching lip tissue.
- Coffee grounds. They’re jagged and don’t dissolve at all. Coffee scrubs are popular for the body, but they’re entirely too rough for lips.
- Lemon or citrus juice. The citric acid causes immediate irritation on broken skin, and citrus oils are phototoxic, meaning they make your lips more sensitive to sunlight.
- Toothpaste. The classic hack for drying out pimples and exfoliating lips, but toothpaste contains sodium lauryl sulfate and other detergents that irritate the mucosal tissue.
- Essential oils. Peppermint, cinnamon, and eucalyptus feel cool and tingly, but that sensation is actually a sign of irritation, not effectiveness. The tingling comes from activating the TRPM8 receptor, which tricks your brain into feeling cold. It does nothing for exfoliation.
The ratio matters. A standard safe formula is roughly two parts fine sugar to one part carrier oil, with a small amount of occlusive added if you want a thicker texture. If you want a softer scrub, drop the sugar to a 1:1 ratio. The goal is a paste that adheres to your lips without feeling gritty or clumping.
Step-by-Step: Building a Safe, Effective Exfoliating Lip Scrub
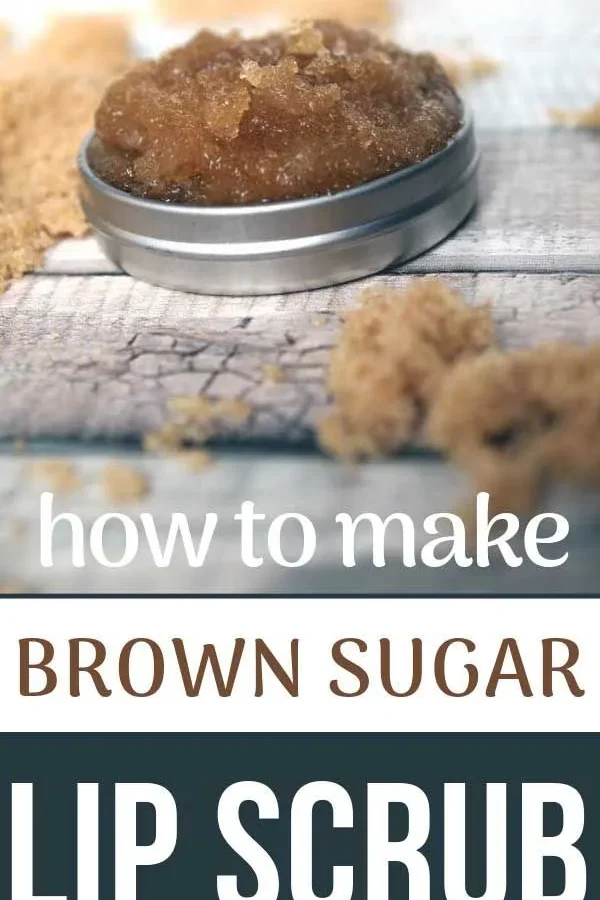
Here’s a simple, dermatologist-informed recipe that minimizes irritation while still delivering the smooth, soft results you’re after. This recipe avoids water-heavy ingredients, so it stays shelf-stable for several weeks at room temperature.
What you need:
| Ingredient | Amount | Purpose |
|---|---|---|
| Fine white sugar | 2 teaspoons | Gentle physical exfoliant |
| Jojoba oil | 1 teaspoon | Carrier base, close to natural sebum |
| Shea butter | 1/4 teaspoon | Occlusive barrier repair |
| Raw honey (optional) | 1/2 teaspoon | Antibacterial binding agent |
Step 1: Sanitize everything. Your lips are mucosal tissue, which means they absorb things quickly and can easily get infected. Wash your hands thoroughly with soap and warm water. Sterilize the container you’ll store the scrub in by washing it with hot, soapy water, then wiping the inside with rubbing alcohol.
Let it dry completely before adding ingredients.
Step 2: Mix the oils first. Combine the jojoba oil and shea butter in a small bowl. If the shea butter is solid, melt it gently by placing the bowl in a warm water bath for a few seconds. Don’t microwave it, as this can degrade the beneficial fatty acids.
Step 3: Add the sugar. Stir the fine white sugar into the oil mixture slowly. You want a texture that sticks together when pressed but still crumbles. If it feels dry, add a drop of oil.
If it feels wet, add a pinch more sugar. The consistency should be paste-like, not soupy.
Step 4: Add optional honey. If you’re using honey, stir it in last and combine thoroughly. Then transfer the scrub to your sterilized container. Cap it tightly and label it with the date.
Step 5: Use it correctly. The application method is where most people cause damage. Wet your lips with lukewarm water for about 15 seconds. Take a pea-sized amount of scrub and massage it onto your lips using only your ring finger.
Why your ring finger? It naturally applies less pressure than your index finger. Use tiny, circular motions for no longer than 30 seconds.
Rinse with lukewarm water and pat dry with a clean towel.
Step 6: Follow up immediately. Within 30 seconds of drying your lips, apply a generous layer of a plain occlusive balm like petroleum jelly or lanolin. The new skin cells are exposed right now, and they’ll lose moisture quickly unless you seal them off. This step is non-negotiable.
If you’re looking for more sustainable DIY projects around the house, our guide to eco-friendly homemade recipes offers similar straight-talking advice for other common products.
Risk Factors and Common Mistakes to Avoid
Let’s be clear about what can go wrong, because the risks are real and more common than you’d think. The most frequent mistake is over-exfoliating simply because it feels satisfying. That “tingling” or “refreshing” sensation you get from scrubbing isn’t your lips becoming cleaner.
It’s tissue damage signaling. If your lips sting after scrubbing, you’ve exfoliated too aggressively.
The over-exfoliation cycle. Here’s how it typically plays out: your lips feel dry and flaky, so you scrub them. They look smooth and pink for an hour or two, then they feel even drier than before. So you scrub again.
This cycle strips the stratum corneum faster than it can regenerate, eventually leaving the lips red, swollen, and painful. In severe cases, this can progress to cheilitis, an inflammatory condition that requires medical treatment.
Cold sore activation. If you carry the herpes simplex virus, physical trauma to the lip can trigger an outbreak. Scrubbing isn’t just a mild irritant, it’s a trauma to the tissue. Many dermatologists advise people prone to cold sores to avoid physical exfoliation of the lips entirely.
If you feel the telltale tingling of an impending cold sore, stop exfoliating immediately.
Sun damage. We mentioned this earlier, but it bears repeating. Freshly exfoliated lips have no UV protection. Direct sun exposure within 24 hours of scrubbing increases your risk of actinic cheilitis, a precancerous condition.
If you’re going outside after exfoliating, apply a lip balm with SPF 30 or higher.
Ingredient substitutions gone wrong. People love to substitute ingredients based on what’s in their pantry, and that’s where problems start. Coconut oil is fine, but it’s comedogenic for some skin types and may cause breakouts around the lip line. Olive oil is too heavy and leaves a rancid taste.
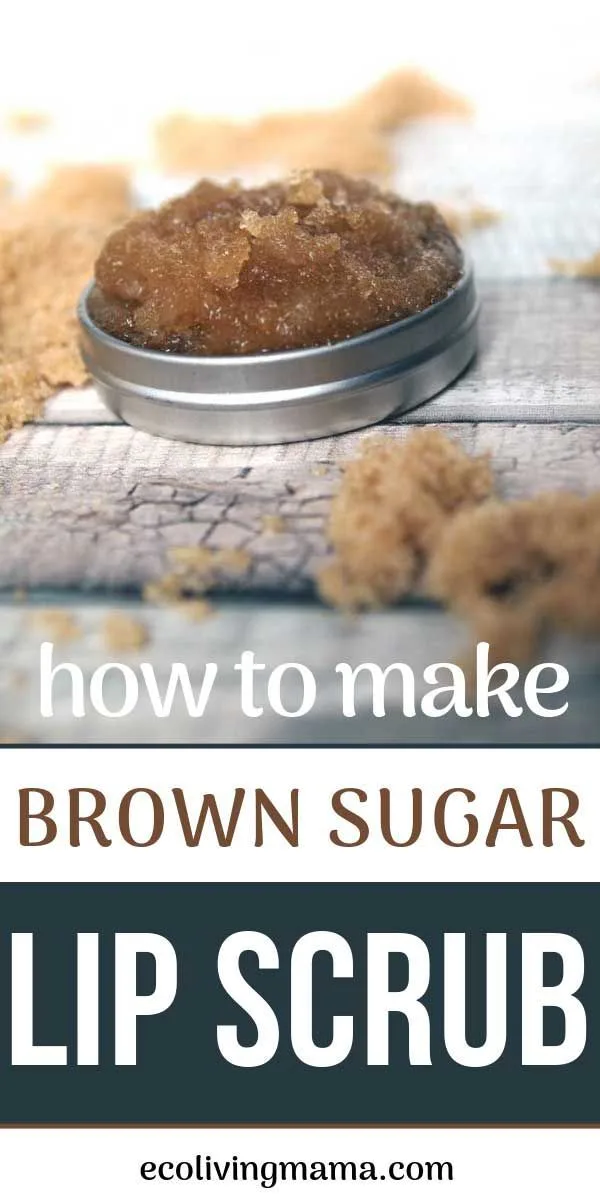
Brown sugar is wetter than white sugar and doesn’t dissolve as quickly, making it more abrasive. Stick to the recipe formula rather than improvising.
Storage errors. If you add honey, water, or any fruit puree to your scrub, it becomes a bacterial breeding ground. Without preservatives, these mixtures spoil within days. The National Institutes of Health has documented cases of skin infections from homemade cosmetics contaminated with Pseudomonas and Staphylococcus.
Keep water-based scrubs in the refrigerator and discard any that sit at room temperature for more than a couple of hours.

Similar Posts